
Breadmaking seems simple on paper, but you quickly notice how many mistakes you can make when you actually try and make it.
Plenty of beginner bakers struggle to get the perfect crumb, a good rise, or even smooth dough after kneading. Although they can be annoying, these issues are just small and have an easy solution.
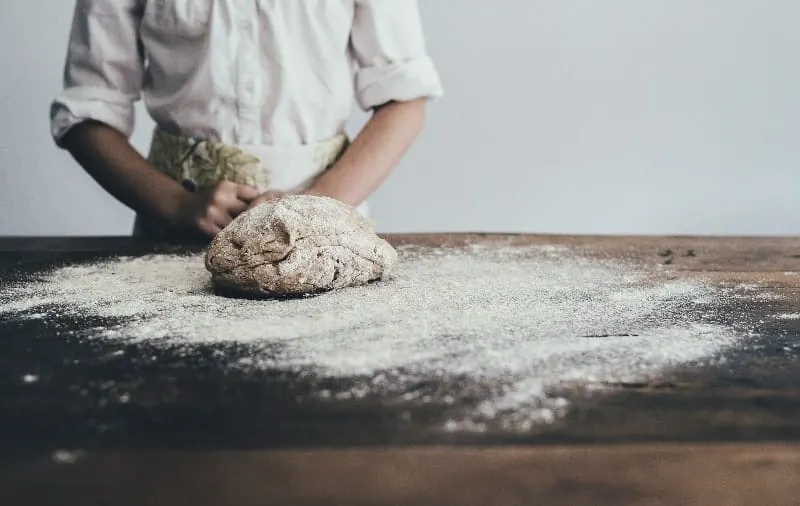
The main reasons why your dough isn’t smooth after you have kneaded it is either because you haven’t kneaded your dough sufficiently, you’re using a low protein flour, or you’re not handling the bread properly.
It can be a real pain if you’re having difficulty getting that smooth-topped ball of dough that so many recipes call for, so it should be in your best interest to find out why you’re not getting it and what you can do to get it.
Causes And Solutions To Ragged Dough
If you’re frustrated that you can’t manage to get your dough as smooth as you’d like, don’t worry. These tips should be able to help you get the smoother dough you desire.
Cause No. 1: Not Kneading Your Dough Enough
Many beginner bakers make the mistake of under-kneading their dough, which often causes it to be ragged as well as ruining the overall texture and rise of their bread.
Many people recommend kneading certain doughs for a specific timeframe, but this isn’t always a good idea. Beginners are often slowly kneaders who don’t always knead in the most effective way, so they likely won’t have kneaded their dough sufficiently in the given time frame.
Instead, it’s better to go by the poke test and windowpane test to check if the gluten structure in your dough is good enough.
The Poke Test:
This test is as simple as it sounds. All you have to do is poke your dough.
Take a fingertip and press it about an inch into your dough. If it springs back quickly, the gluten development is sufficient and your dough should be ready. If it doesn’t spring back, carry on kneading.
If you’ve got a particularly sticky dough, you can wet your fingertip with water or put oil on it to prevent it from sticking.
The Windowpane Test:
To perform this test, you need to take a golf ball-sized piece of dough and press it with your fingers until it’s thin.
With both your hands, gently pull the dough as thin as you can get it without tearing. It should be able to get paper-thin and you should be able to see light through it. If not, continue kneading until it gets there.
Cause No. 2: It’s The Flour You’re Using
The best flour you can use for a good dough and bread is strong white bread flour. It has a high protein content so it creates enough gluten to give you a nice and risen dough.
Flour with a lower protein content, like rye, isn’t as good at creating gluten as a bread flour. This means that you likely have to knead your dough for longer and it won’t turn out as elastic or smooth as a standard dough.
If you’re struggling to get your dough smooth, try out a different flour or a higher quality bread flour. Doing this can help you to develop more gluten and therefore get a smoother dough.
Cause No. 3: You Need To Handle The Dough Better
With experience comes technique. Inexperienced bakers, won’t know how to properly handle the dough or know what they should be doing to give it a smoother surface.
A lot of beginners don’t know about surface tension on dough, so when they shape their dough into a ‘ball’, they just do whatever they can to roll on into that shape.
Surface tension is extremely important for giving your dough a smooth appearance and ensuring that it rises up rather than sideways during proving and baking.
If you’re struggling to handle your dough, it’s a good idea to pick up a dough scraper. Dough sticks much less to a scraper than your hands, so it’s easier to maneuver the dough and create more surface tension.
Take a look at the video below by Bake With Jack for some advice on building better surface tension on your dough.