
So we all know about the wonderful and traditional round pizza. It’s an absolute classic and it can’t really ever be beaten by any other pizza shape.
There are however pizzas that step away from tradition and go for a different shape, like the rectangular or square pizzas. You might have heard of rectangular pizzas like Detroit pizzas, Grandma pizzas, or Sicilian pizza, but either way, they’re quite clearly different from the norm.
Unlike regular round pizzas that are dusted in flour to stretch, the rectangular pizza is almost always coated in oil to make stretching it much easier. This coating of oil often imparts more flavor on the dough as well as promoting browning and giving it a great crispy crust.
When it comes to stretching the pizza dough, the best way to do it is to use a square or rectangular baking tray. This baking tray is what the pizza will cook in, so make sure to get the right size.
Baking trays are used because they make it easy to stretch the dough to the right shape without worrying about having to try to get perfectly squared edges. The other bonus is that you’re not going to be making a mess as you might with flour.
One thing to consider when shaping a rectangular pizza is that you may need to allow it to rest before you can get it all the way to the edges of the pan. The gluten can tighten up pretty quickly when shaping, so allowing it to rest for 10-15 minutes will make it easier to get to the sides of the tray.
Now that we’ve talked about the basics, let’s go into the step-by-step process.
How To Shape A Rectangular Pizza
Here’s an easy guide on how you can shape your pizza into a rectangle, square, or any shape you want really. You could even attempt to shape your pizza into a star if you’ve got the right pan. The world is your oyster!
Step 1: Pick An Appropriate Proving Container
It doesn’t matter much what type of container you use to prove your dough, but it can make the shaping process easier if you chose one that’s square or rectangular.
It can be a tupperware container, square bowl, or square glass dish. Any squared food-safe container will do the job nicely.
When the dough is sitting in a container with four corners, it’ll take on the shape of it and therefore make your life a little bit easier when it comes to getting the dough to the corners of the baking tray.
One thing I will add is to make sure that the proving container is coating generously with oil. You want the dough to be able to easily slide out of the container when you need it to.
Step 2: Turn The Dough Out Into An Oiled Baking Tray
Oil is your friend in this step. As you know, pizza dough can get pretty sticky, so you want to avoid this when you’re trying to stretch it out to the sides of the tray.
You should pour in a few tablespoons of EV olive oil. Be somewhat generous with it if you’re not worried about your waist, but you can get away with using just a few teaspoons of oil if you don’t want to use much.
You want to avoid adding too little and too much.It will either stick or be dripping with oil by the time it’s done. This oil has a deep frying effect on the dough and makes it extra crispy.
Step 3: Coat The Dough In Oil
To further prevent the pizza from sticking to the tray during baking, you want to thoroughly coat the dough in the oil.
Doing this will not only prevent it from sticking to the tray in the oven, but it will also stop the dough from drying out and make it easier for you to strech.
You’ll really notice the extra flavor you get from all this added oil. You can tell that it’s not exactly healthy, but it tastes so good.
Step 4: Stretch The Dough To The Edges Of The Pan
Now that everything is nicely oiled up and ready for a pizza, it’s time to start stretching the dough.
At this point, you can either try to stretch the dough out to the edges or you can gently poke your fingers and knuckles into the dough to flatten it out evenly all the way to the edges.
The dough will most likely start springing back at you at this point since the gluten can tighten up easily. If your dough is cold from the fridge, you’ll definitely have it springing back and you’ll have a difficult time shaping it properly.
If you can’t get it to the edges, move onto the next step.
Step 5: Let The Dough Relax And Stretch It Out Again (Optional)
Dough can be an absolute pain to work with if you don’t know exactly what you’re doing. You might be stretching it only for it to spring right back to its original shape.
When the dough pulls itself back after stretching, it just means that the gluten is tight. All you have to do at this point is allow it to rest.
If the dough is at room temperature, letting it rest for 10-15 minutes is enough. By the time you come back to it, you’ll notice that it’s much softer and easier to stretch out.
If the dough is cold, it’s best to leave it longer since it needs to warm up. Leave it for 20-30 minutes and see how workable it is after that. If you’re lucky, you’ll be able to stretch it out without any difficulty.
This resting period allows the gluten to relax, so you’ll have a much easier time getting it to the edges of the tray.
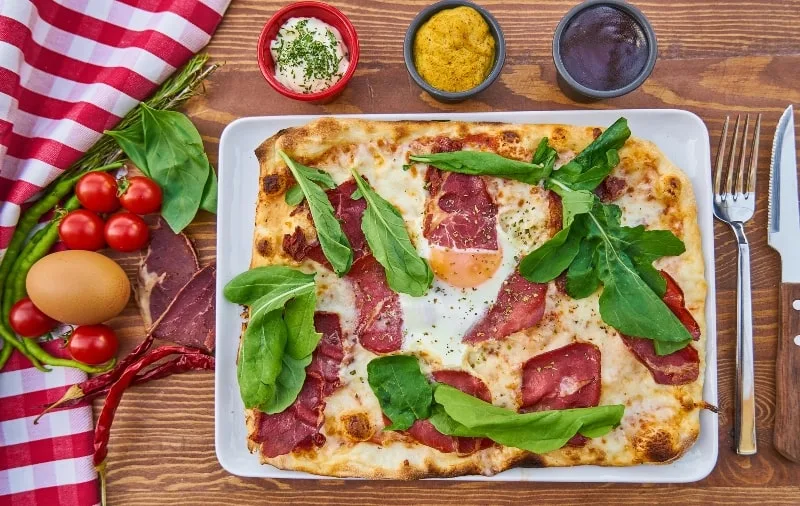
Step 6: Make Some Pizza!
Now that you’ve managed to shape a rectangular pizza, you can get on with actually making it.
The next step you take all depends on the type of pizza you’re making, so you can either allow the dough to prove before topping and baking or you can just top it and bake it right away.
Prove it before baking it if you want it to be thick like a Detroit pizza, but skip the proof for a pizza that’s thinner and bakes at a higher heat.